Taking screenshots is one of the most common computer tasks, whether you want to capture a funny conversation, save important information, or create a tutorial. If you own a Mac, you might be wondering how to screenshot on MacBook quickly and efficiently. Apple offers multiple built-in ways to take screenshots, and the process is much simpler than it seems.
In this guide, we’ll cover everything you need to know about capturing your screen, including different shortcut keys, tools, and options for editing or saving your screenshots. Whether you’re using a MacBook Air, screenshot MacBook Pro, or even an iMac, these methods will work for you.
Why Learn How to Screenshot on Mac?
Before diving into the details, let’s understand why knowing how to screenshot on Mac is so useful:
- Quick Sharing: Instead of typing out details, you can capture and share visuals in seconds.
- Productivity Boost: Screenshots make it easy to explain processes or highlight errors.
- Record Keeping: Save copies of online receipts, tickets, or confirmation messages.
- Creative Projects: Content creators often rely on screenshots for tutorials, blogs, or videos.
If you’ve been asking, “How do you screenshot MacBook devices?” this guide will make the process crystal clear.
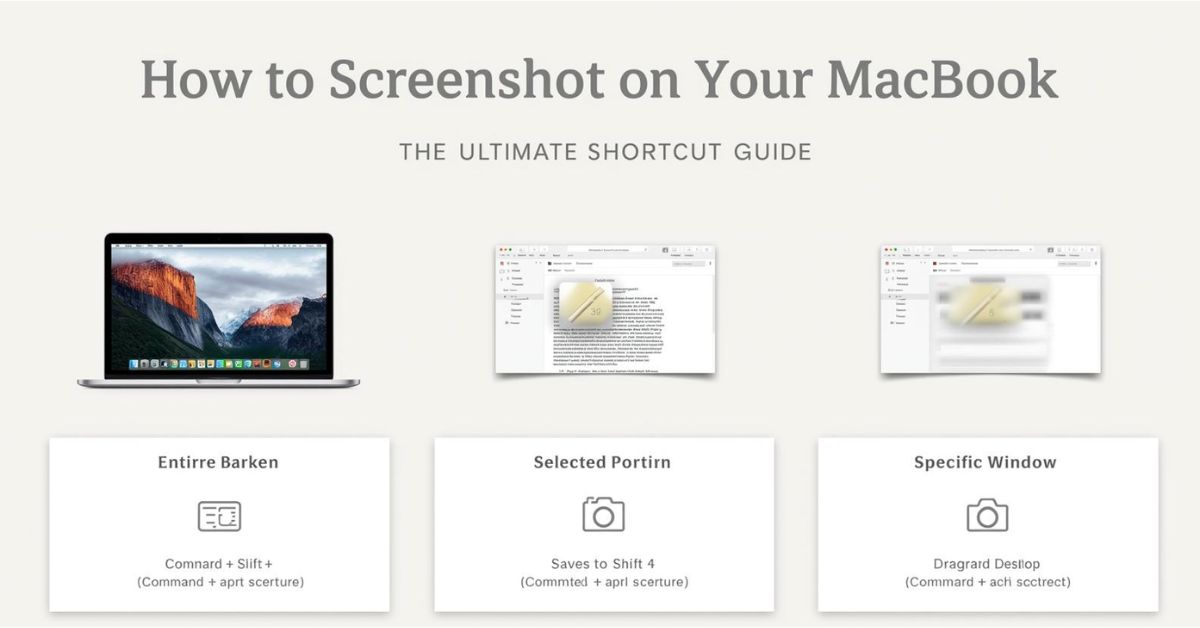
Method 1: Capture the Entire Screen
The easiest way to take a screenshot on a Mac is by capturing the whole display.
- Press Command (⌘) + Shift + 3
- The screenshot will instantly save to your desktop as a PNG file.
This is ideal when you want to grab everything on your screen without worrying about selecting a specific area. If you’re using screenshot MacBook Pro for work or study, this shortcut is especially handy during presentations or online classes.
Method 2: Capture a Selected Portion of the Screen
Sometimes, you don’t need the entire screen. You might only want to grab part of it. That’s when this method works best.
- Press Command (⌘) + Shift + 4
- Your cursor will turn into a crosshair.
- Click and drag to select the portion you want to capture.
- Release the mouse or trackpad, and the screenshot will be saved to your desktop.
This is often referred to as the “how to screen cut on Mac” option because it lets you snip or cut a specific section of the display.
Method 3: Capture a Specific Window
Want to capture just one window—like a browser, Finder, or app—without background clutter? Mac makes it simple:
- Press Command (⌘) + Shift + 4, then press the Spacebar.
- Your cursor changes to a camera icon.
- Hover over the window you want and click to capture it.
This method is perfect when you want a polished screenshot MacBook image without unnecessary distractions.
Method 4: Use the Screenshot Toolbar (macOS Mojave and Later)
If you’re running macOS Mojave or a later version, Apple introduced a built-in Screenshot Toolbar with advanced options.
- Press Command (⌘) + Shift + 5
- A small toolbar will appear at the bottom of your screen.
From here, you can:
- Capture the entire screen
- Capture a selected window
- Capture a portion of the screen
- Record your screen (video)
- Choose where to save the screenshot
This is the ultimate solution if you’ve been wondering, “How do you screenshot MacBook screens with more flexibility?”
Method 5: Capture the Touch Bar (MacBook Pro Only)
If you’re using a MacBook Pro with a Touch Bar, you can even screenshot the Touch Bar itself.
- Press Command (⌘) + Shift + 6
- The image of your Touch Bar will be saved on your desktop.
This feature is unique to MacBook Pro users and can be helpful for tutorials or software demonstrations.
Where Do Screenshots Save on Mac?
By default, all screenshots are saved as PNG files on your desktop with names like “Screen Shot [date] at [time].png.”
However, you can change the save location if needed. To do this:
- Open the Screenshot Toolbar (⌘ + Shift + 5).
- Click Options.
- Choose a new save location, such as Documents, Clipboard, or a custom folder.
This flexibility makes organizing your screenshot MacBook files much easier.
Editing Screenshots with Markup
Right after taking a screenshot, you’ll see a thumbnail preview in the corner of your screen. Clicking on it opens the Markup tool, which allows you to:
- Add text or shapes
- Highlight sections
- Crop the image
- Add a signature
This feature is incredibly helpful when you want to annotate a screenshot MacBook Pro file before sending it to someone.
Tips and Tricks for Better Screenshots
To make the most of your screenshots, try these useful tips:
- Copy Instead of Save: Press Control + Command + Shift + 3 (or 4) to copy the screenshot to your clipboard instead of saving it. Then, simply paste it into apps like Notes, Pages, or Photoshop.
- Change File Format: By default, screenshots save as PNG, but you can change them to JPEG, TIFF, or PDF with a quick Terminal command.
- Organize Screenshots Automatically: Create a dedicated folder for screenshots to keep your desktop clutter-free.
- Use Third-Party Tools: Apps like Snagit, CleanShot X, or Lightshot provide advanced features if you need professional-level screen capturing.
FAQs: How to Screenshot on MacBook
Q1. How do you screenshot MacBook without keyboard shortcuts?
A: Use the Screenshot Toolbar by pressing Command + Shift + 5, then choose the option you prefer.
Q2. Can I change where my screenshots are saved?
A: Yes. In the Screenshot Toolbar, click Options to select a different folder.
Q3. What’s the difference between Command + Shift + 3 and Command + Shift + 4?
A: Command + Shift + 3 captures the entire screen, while Command + Shift + 4 lets you select a specific area.
Q4. How to screenshot MacBook Pro with Touch Bar?
A: Use Command + Shift + 6 to capture the Touch Bar.
Q5. Can I take scrolling screenshots on Mac?
A: macOS doesn’t natively support scrolling screenshots, but third-party apps like Snagit or CleanShot X can do this.
Final Thoughts
Learning how to screenshot on MacBook is essential for students, professionals, and everyday users alike. Whether you’re saving notes, sharing work, or creating content, Apple provides a variety of simple tools to capture your screen.
From quick shortcuts like Command + Shift + 3 to advanced options in the Screenshot Toolbar, you now know how to take full advantage of these features. Whether you were searching for how to screenshot on Mac, how do you screenshot MacBook, or screenshot MacBook Pro, this guide covers it all.
So, the next time you need to screenshot MacBook, you’ll be ready in just a few keystrokes!

